
Crimping Tool Basics: How to Make Reliable Electrical Connections
A crimped connection is only as good as the tool that made it. A loose crimp raises resistance, generates heat, and is one of the most common causes of electrical failure. Understanding a few basics will help you get consistent results.
Match the die to the terminal
The die set determines the shape and depth of the crimp. Insulated terminals, bare terminals, and tubular ferrules each require a different profile. Using the wrong die may look acceptable but will fail a pull test.
Use the right position on the tool
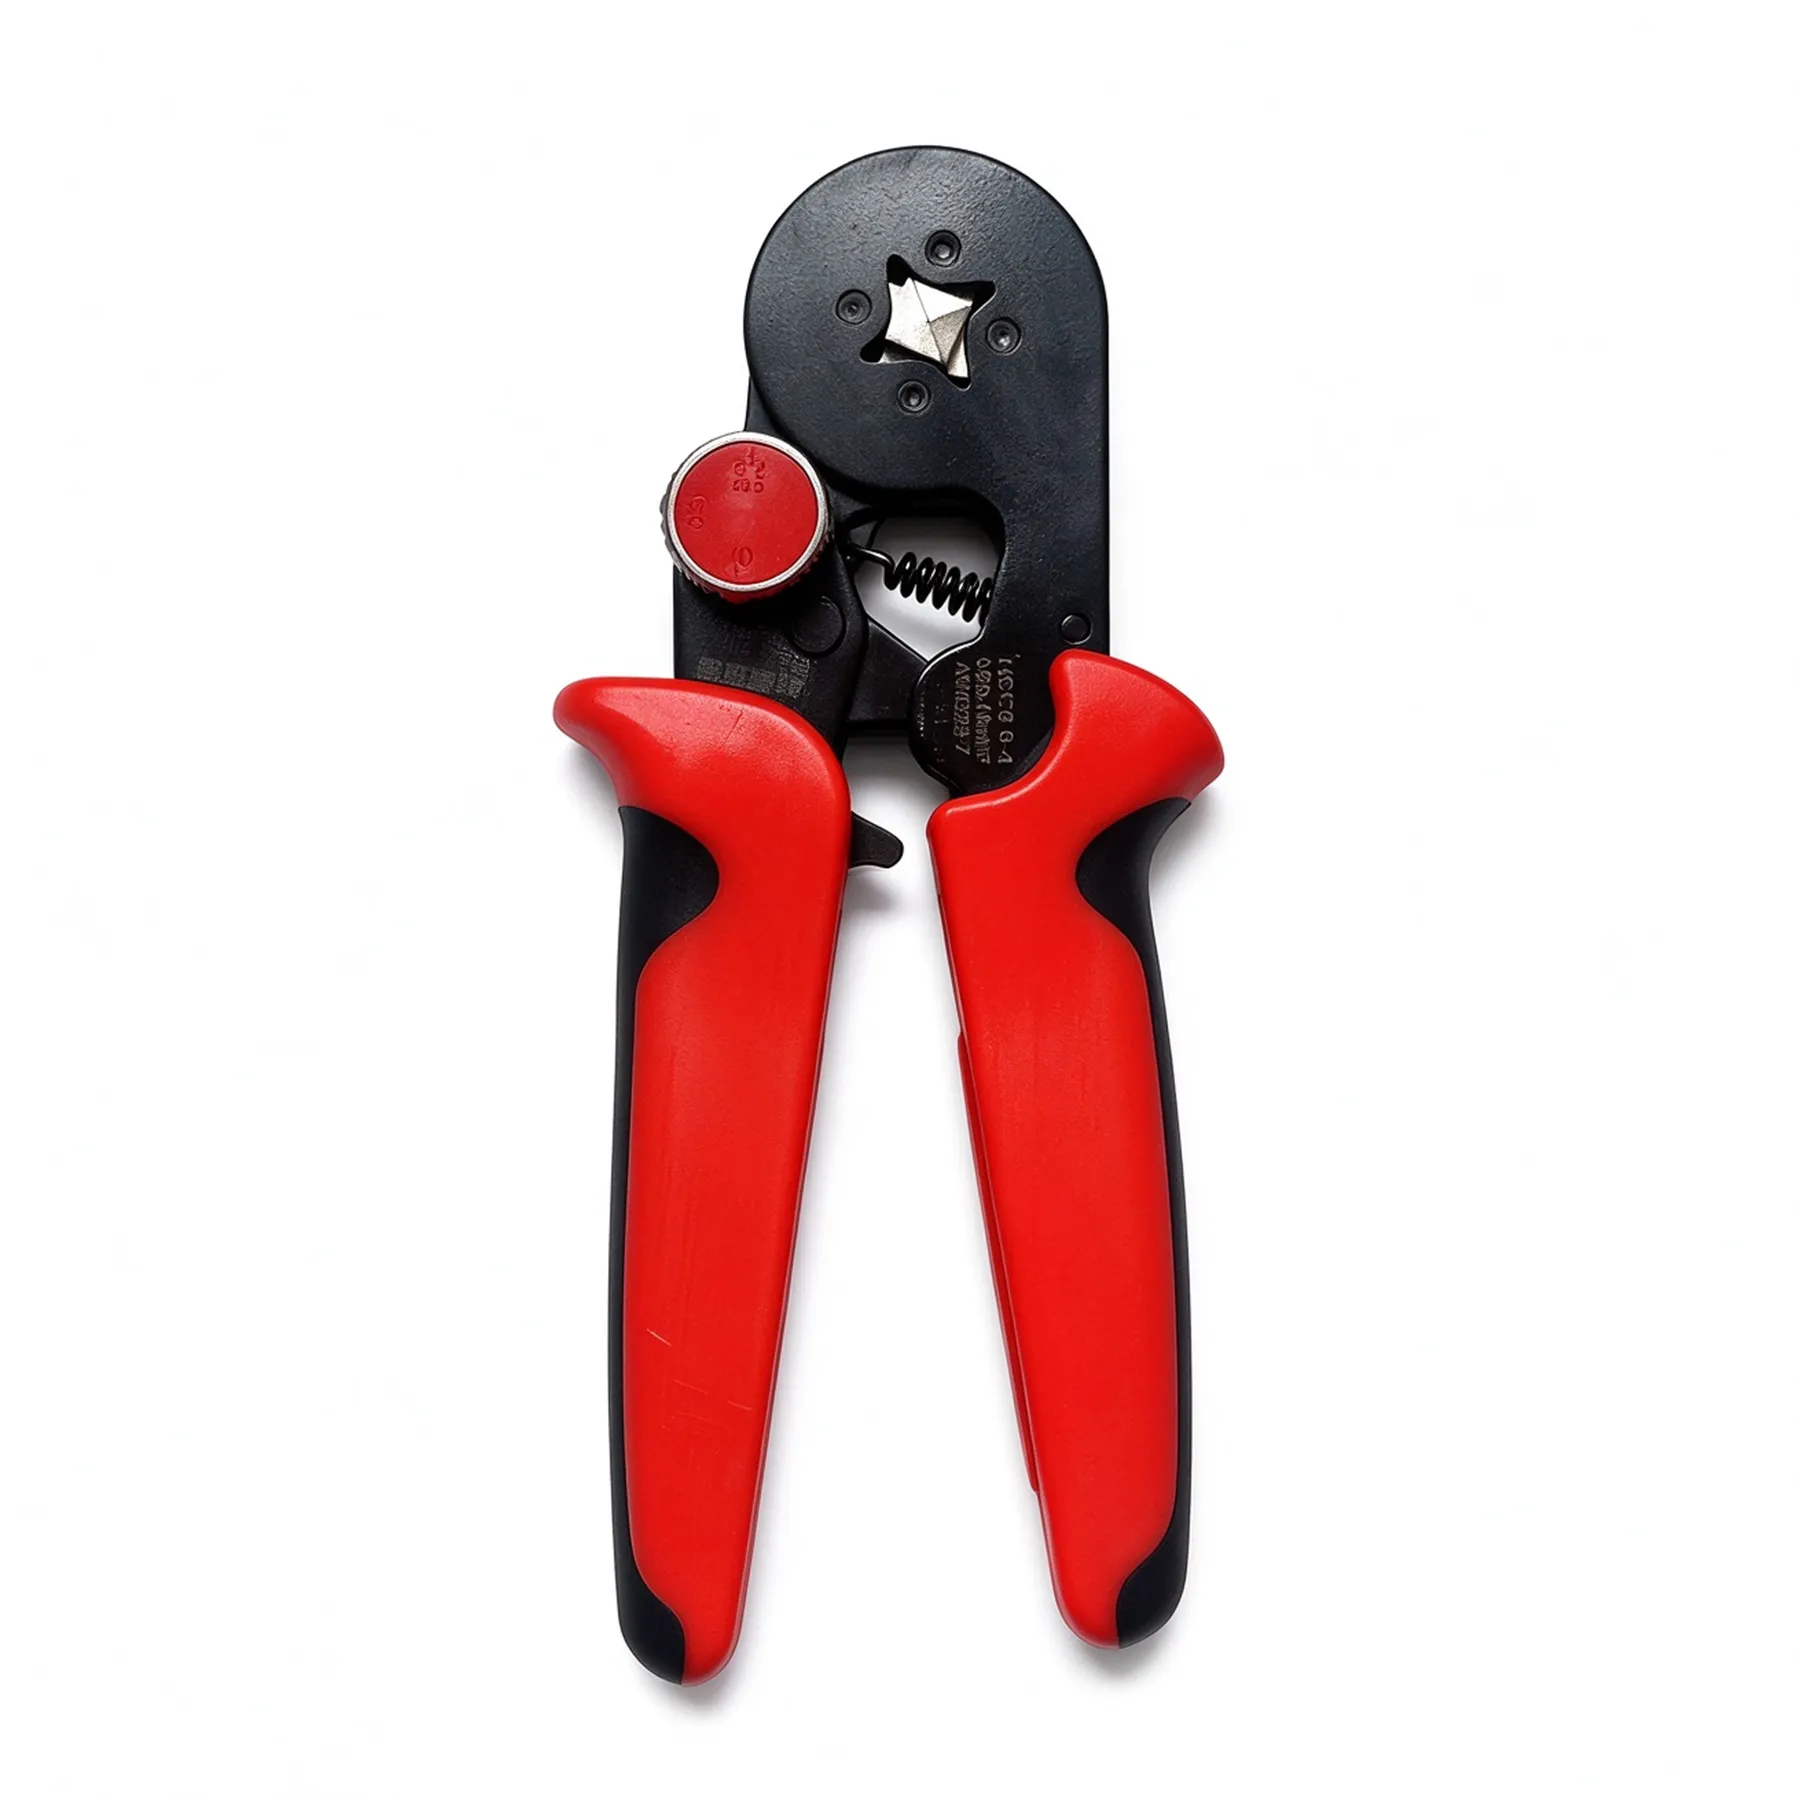
Most hand crimpers have several marked positions. The number refers to the cross-section of the conductor, not the size of the terminal. Crimp in the position that matches your wire, and never settle for close enough, because the difference between 1.5 mm2 and 2.5 mm2 matters.
One crimp or two
- Insulated terminals normally need one crimp on the barrel.
- Bare and tubular terminals benefit from two crimps when the barrel is long, one at each end of the contact area.
Check your work
A correct crimp shows a neat, even indentation on the barrel with no cracked insulation and no exposed strands between barrel and insulation. If in doubt, cut a sample and inspect the cross-section.
Ratchet crimpers that release only after a full cycle are the simplest way to guarantee repeatable force, which is exactly what a production environment needs.